Cotton Candy Tessellation 2.0
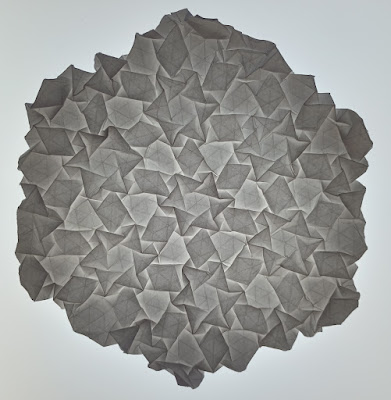
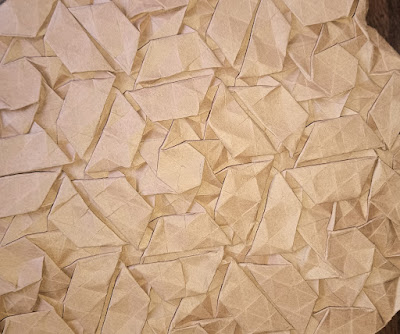
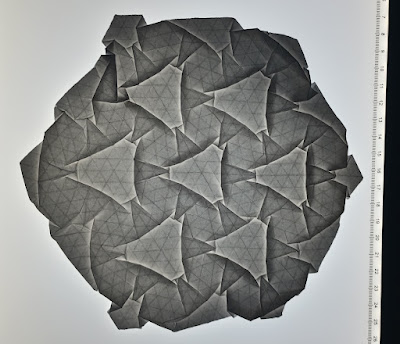
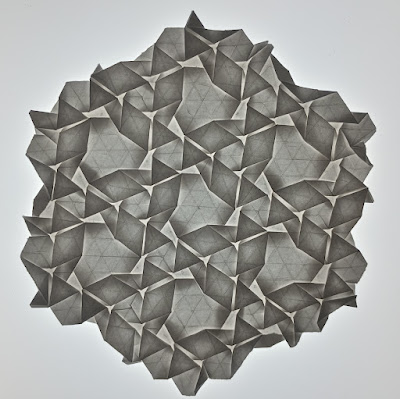
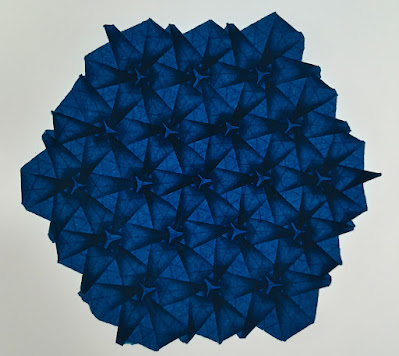
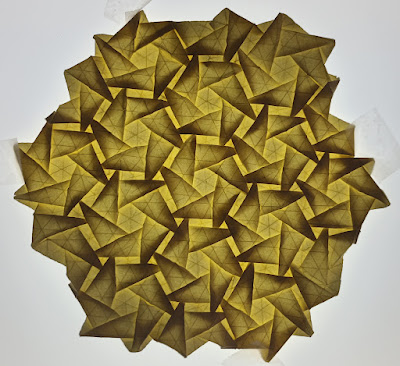
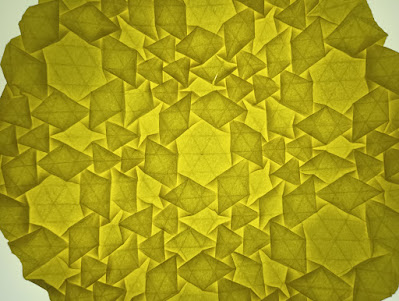
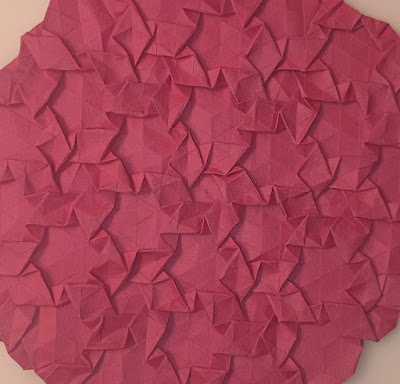
This is a tessellation that I did not that long ago. I called it cotton candy because I had used pink paper and it made me think of that. I came up with the crease pattern again without realizing that I already had. And then proceeded to fold it again before finally noticing it was a previous design. The first time I folded it, it didn't turn out as nice as I would've liked. This time around though, it came out much neater and looking more like I expected it to when I conceived of it. It's an unusual design that puts together several different shapes in a way that isn't typically used. To access the diagram refer to my first fold/post of this tessellation called cotton candy . There are also additional details in that post about the nuances of executing this particular design. If you happen to fold it yourself let me know in the comments.